Matrix 3D Model
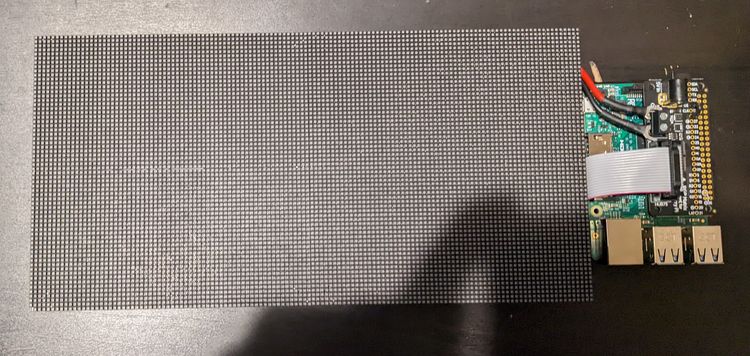
So I knew when I designed this I didn't want a clean case, I like the idea of the tech being exposed so I wanted the rPi showing after the model was done. The feature image is the final product. My original plan was to have a second print to make it a bit more solid but that added a lot of complications, here is what that original model looked like.
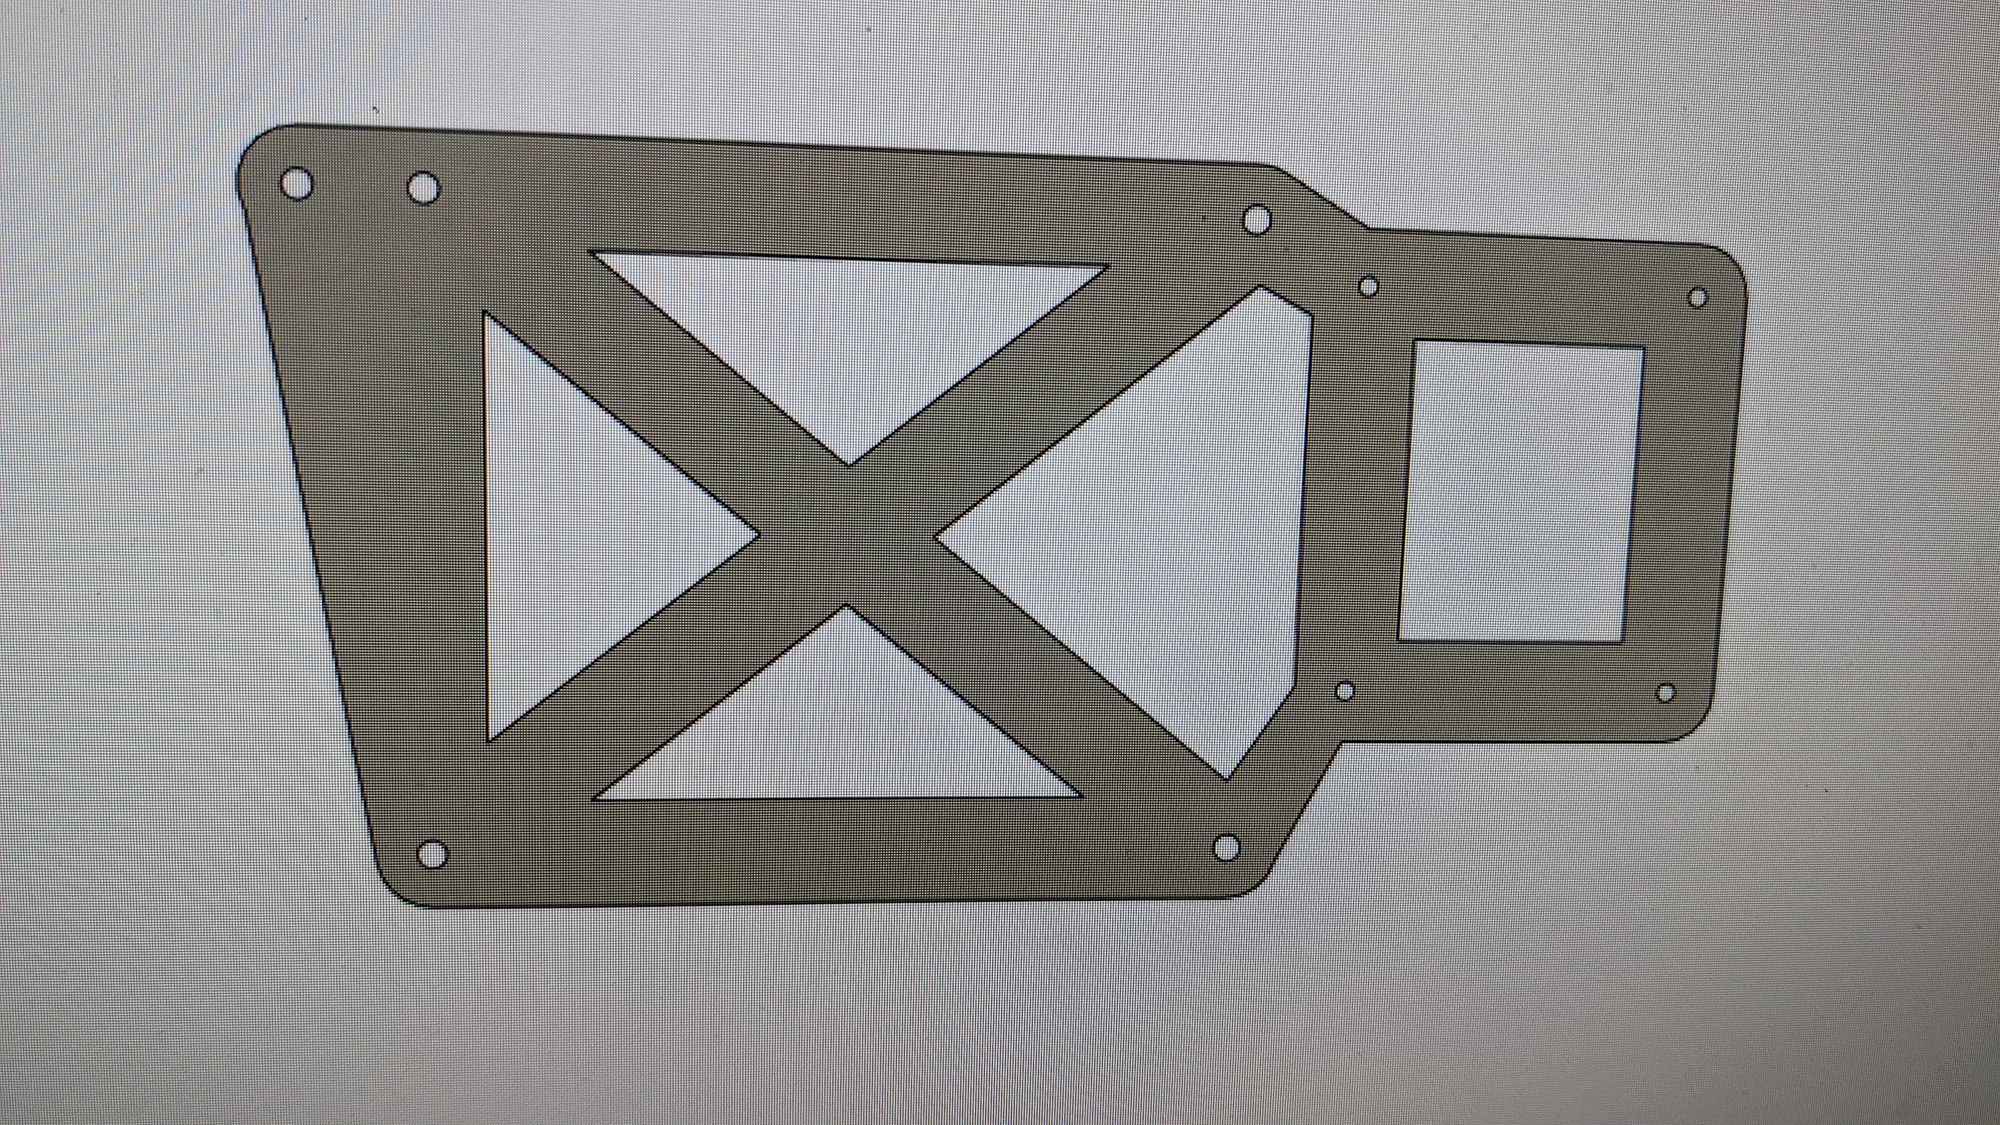
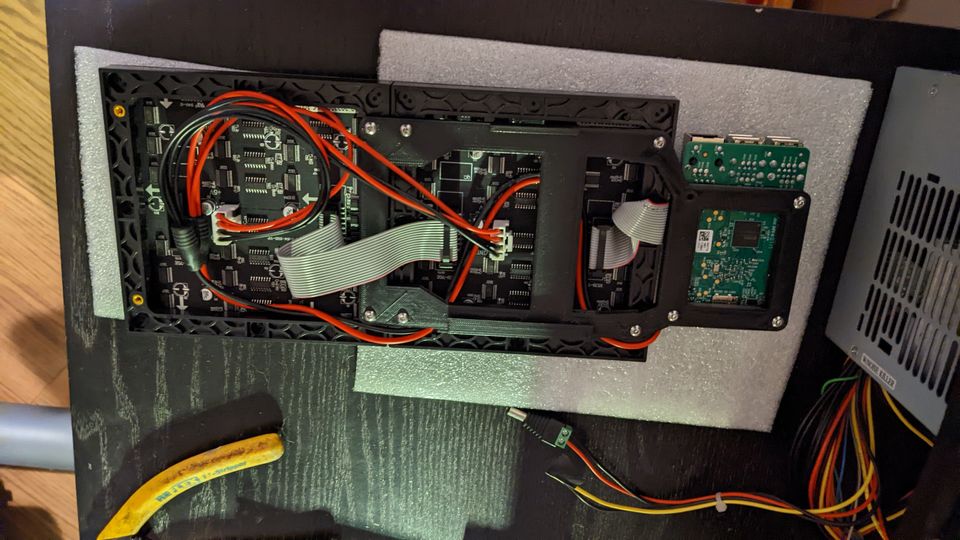
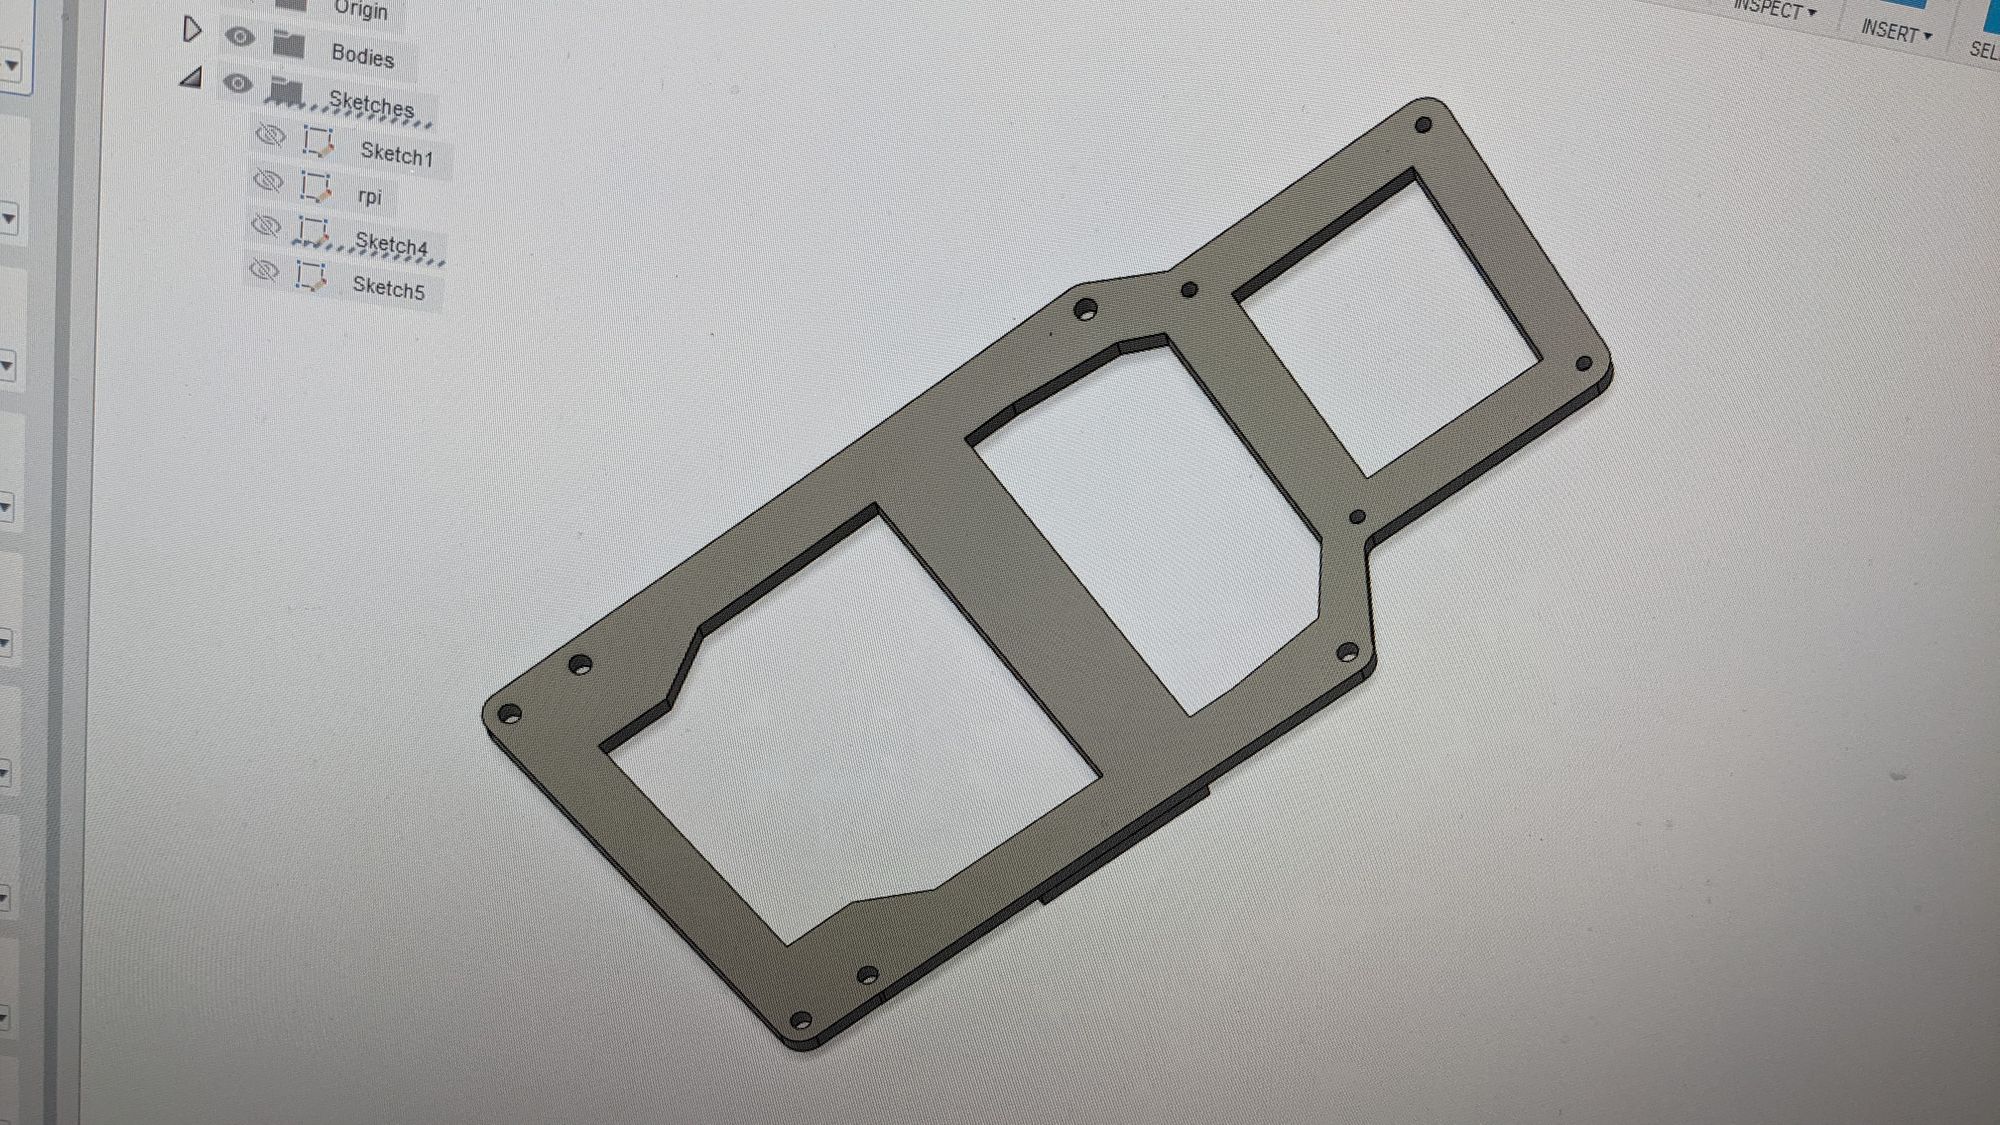
After this print was complete I realized two things. The X that I added for support was actually blocking me from connection the screen to the hat. The second realization was the one I already mentioned, it wasn't stable in this configuration and it didn't make sense trying to make a second part to further stabilize it. So I moved the X so that connection was exposed and then added the second hole for the second screen so it would be nice and tight. After printing that iteration I realized that X was never going to work and just went with a straight line, giving me the below as the final design for holding everything together.
The other piece I needed to figure out was how I wanted to mount it on the wall. There are some cables that run behind it so I need to create some clearance with the mounting, but I also didn't know where the center point of weight was so that's how I ended up with the below design.
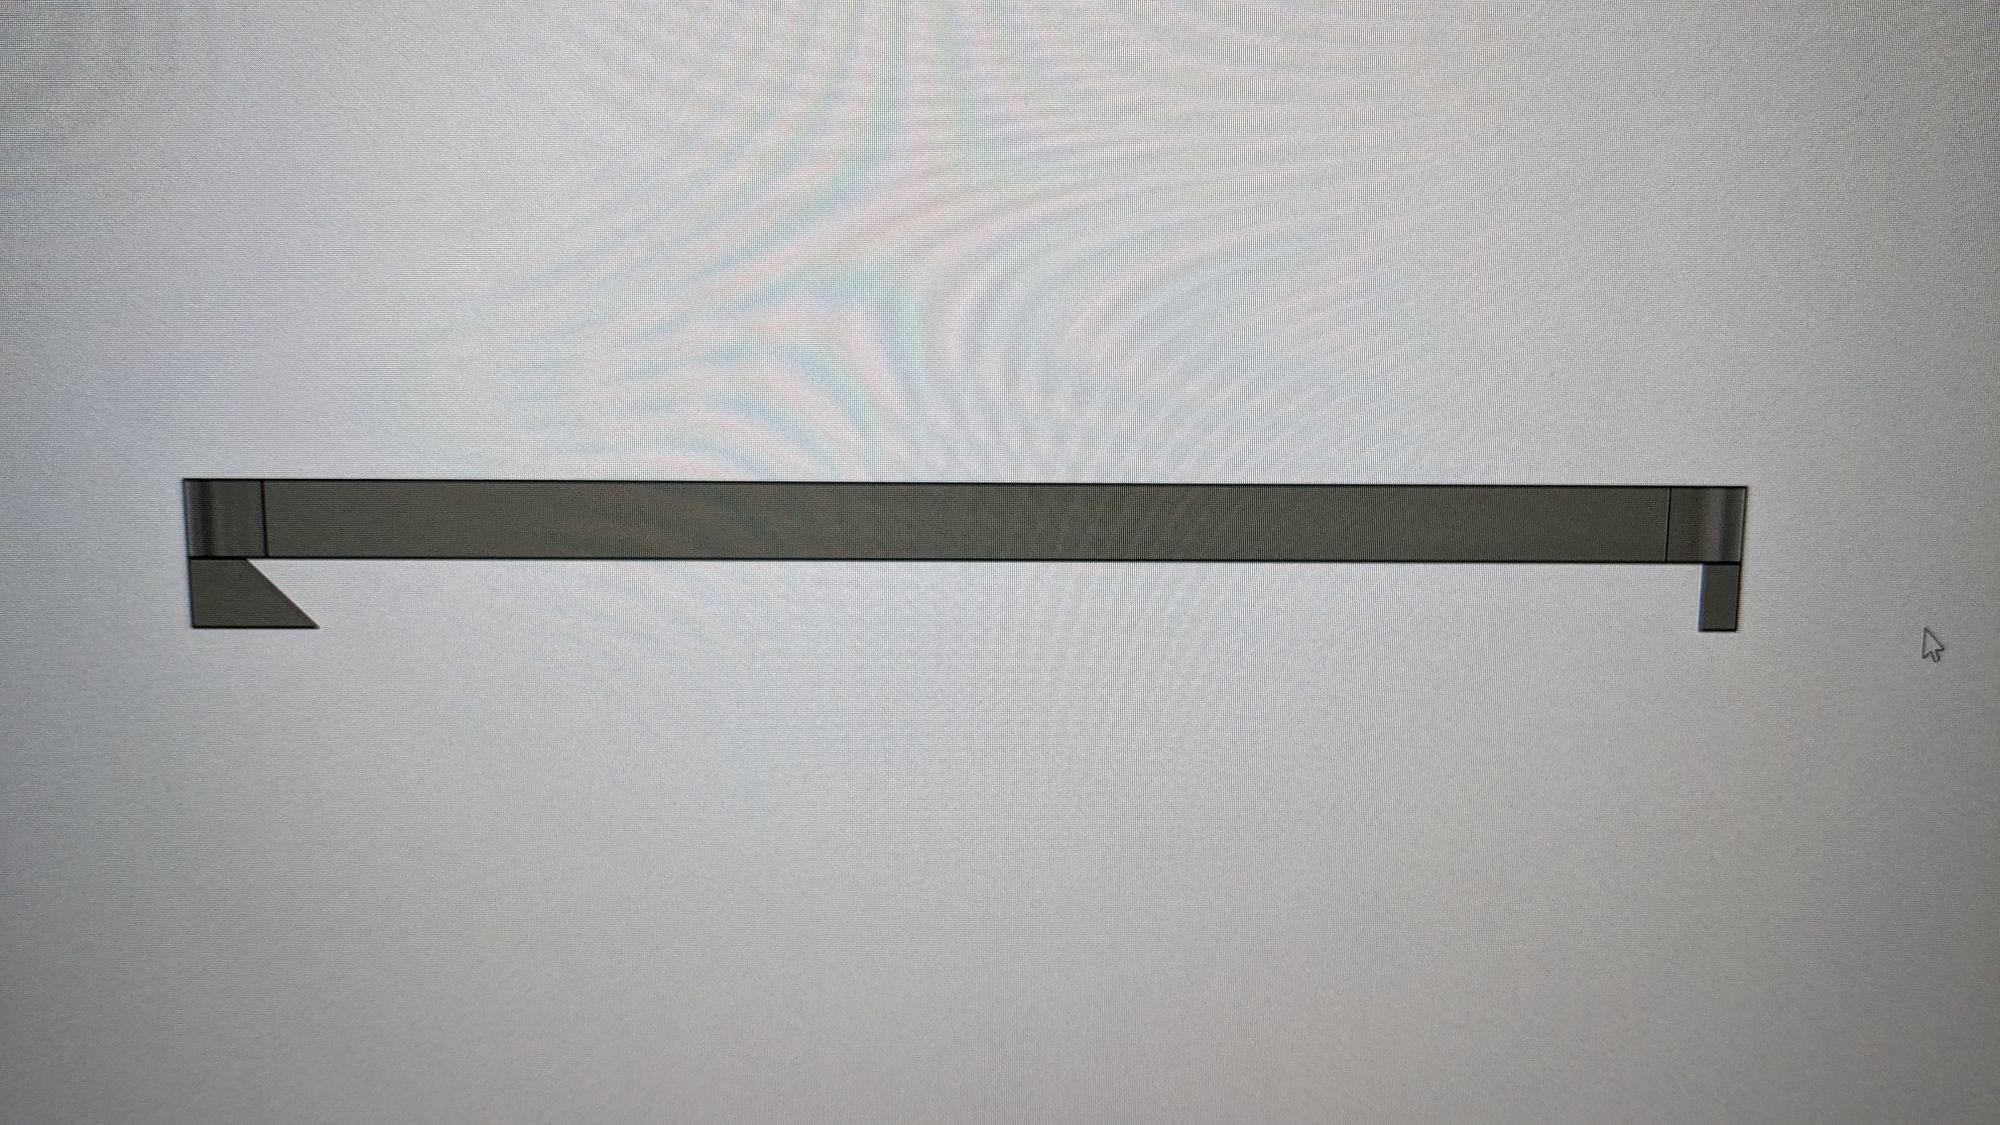
With this design I was able to use a basic counter sunk wood screw, leave the head protruding enough so that it would just hang on the hook I created and then it was good to go. Below I have attached the model so if any of you decide you like the style than you can give it a go as well. Print time on my Anet A8, still running strong, was around 2.5 hours.